Learn how to apply UV DTF 3D PermaStickers in this tutorial video. Discover step-by-step methods to ensure perfect adhesion and long-lasting results, ideal for any hard surface. Perfect for DIY enthusiasts and professionals alike!
Our step-by-step instructions are below:
Step One: Pre-squeegee Before Separating
Using the padded end of the included squeegee, run over it with hard pressure, back and forth 3-5 times.
Step Two: Separate The Clear Carrier Sheet From The Backing
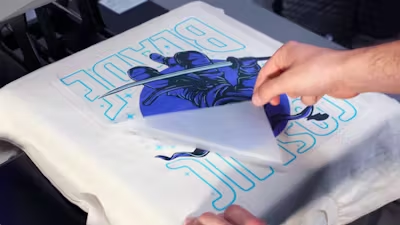
Begin to peel the paper away from the top layer carrier sheet. If some of your design is not transferring to your carrier sheet, simply press it with your fingers firmly as you peel back and you will see it continue to transfer over to the carrier sheet correctly.
Pro Tip: We recommend a slight tear in the paper to help get a nice grip of the top layer clear carrier sheet.
Step Three: Place The UV DTF Permasticker Onto Your Item
Place the transfer with the transfer sheet onto your item in the desired location. Use the squeegee to run over it with hard pressure back and forth to ensure the UV DTF Permasticker adheres properly to your item.
Pro Tip: Leave an edge of the carrier sheet lifted, aka “dog earred” so you can easily grip it.
Step Four: Completing The Transfer Process
Peel the carrier sheet away from the Permasticker. While peeling, move your grip inward to maintain a controlled peel.


