Learn how to expertly apply DTF transfers using a Cricut press in this step-by-step tutorial. Perfect for DIY enthusiasts and crafters looking to add professional-quality designs to their projects.
Applying DTF transfers with a Cricut is easy when you follow our step-by-step guide below.
Step One:
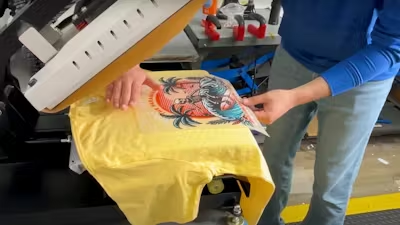
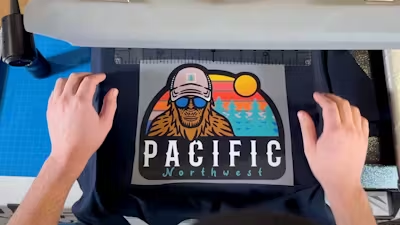
Align your design to the correct location on the garment.
Step Two:
Ensure your Cricut is set to 325 for 20 seconds. The temperature of the Cricut is higher than that of a heat press to ensure that the transfers adhere correctly to the garment. This is because there is not as much pressure being applied to the transfer when using a Cricut vs. using a heat press.
Step Three:
Layer the protective guard sheet over the transfer before pressing the transfer to ensure that the garment is protected from the heat of the Cricut.
Step Four:
In many cases, the Cricut may be larger than the design itself which will allow for full coverage of the design on the first press. If the design is larger than the Cricut, then you may need to press the design in sections. You cannot overpress our DTF transfers - it’s better to over-press than under-press!
Step Five:
Move the Cricut around the design and then proceed to hold in place over the design. Click the start button on the Cricut to press the transfer for 20 seconds and make sure to apply pressure while pressing.
Step Six:
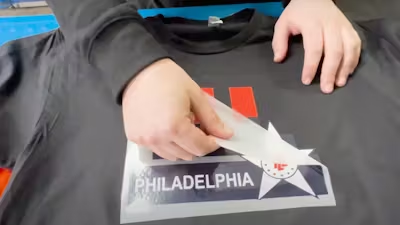
Wait about 5 seconds and then peel. Use your eyes when peeling the transfer, if any parts of the transfer are lifting while peeling, put the transfer back down, place the parchment paper back over the transfer and re-press.
Step Seven:
Once peeled, reapply the protective guard sheet and second press to allow for a smooth and soft finish.
That’s it! Applying DTF transfers with a Cricut is simple and a great alternative to a heat press.