UV DTF Gang Sheet - Upload a Print Ready File
Add a DTF Sample Pack to Cart - $0.01 - Add to Cart
Upload your ready-to-print template (AI, PNG, PDF) to create vibrant and durable Ninja PermaSticker UV DTF Gang Sheets. Each UV order includes a Free Application Squeegee.
Printed Directly by Ninja. Never Outsourced. Shipped Fast from USA.

Works on Any Hard Surface

Vibrant Colors & Ultra-fine Details

Quick & Easy to Apply

100% Satisfaction Guaranteed

Upload your file
File should be an image Like
Upload your file(s)
Drag and drop file(s) here or click to browseLogin to see your designs
Please Wait

We're making sure your upload is perfect for printing.
This may take a few seconds.

Cropped size 2.00" x 2.00"
Don’t have a print-ready Gang Sheet?
Ninja Rewards!
Great news! You're automatically enrolled in Ninja Rewards with your first purchase, no sign up required. You'll start earning points immediately, making it easy to enjoy rewards from the beginning!
If you're already a member log in at checkout to earn and redeem points.
Complete your order with Hard Goods
Tomorrow

30oz Tumbler (Powder Coated)
starting at








30oz Tumbler (Powder Coated)
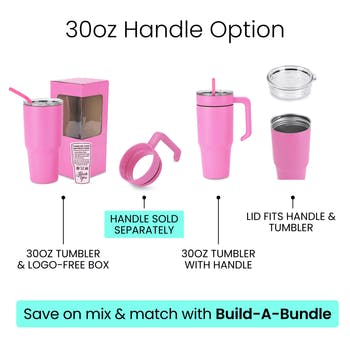
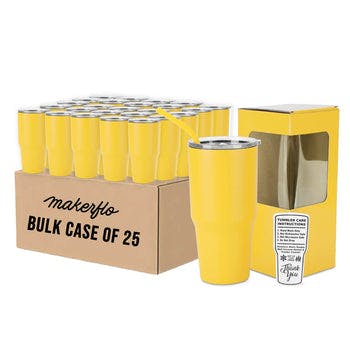
Reinvent your drinking experience with MakerFlo Crafts' 30 oz Powder Coated Tumbler, a versatile canvas awaiting your personal touch and creative vision. These amazing tumblers combine style, functionality, and customization potential, ideal for crafters and DIY enthusiasts who want to keep their drinks at the perfect temperature while expressing their unique style.
Whether you're a hobbyist or a professional crafter, these high-quality yet affordable tumblers offer endless possibilities to transform ordinary drinkware into extraordinary keepsakes.
- Powder Coated Matte Finish
- Capacity: 30oz
- Sliding Splash Proof Lid
- Straw & Care Card Included
- Individually packaged in peek-a-boo window gift box
- Stays Cold 24+ hours & Warm 8 hours
- Powder Coated for durability, or you can strip the coating
- No logo on tumbler for easy customization
- These tumblers are double-wall, vacuum insulated, BPA free and come individually boxed.

Whiskey Decanter - Rectangle - 750ML
starting at
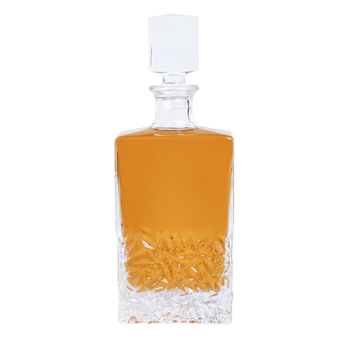
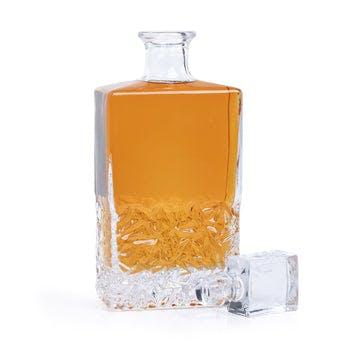

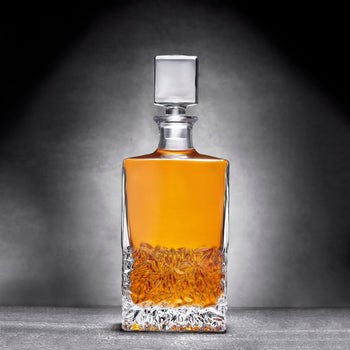
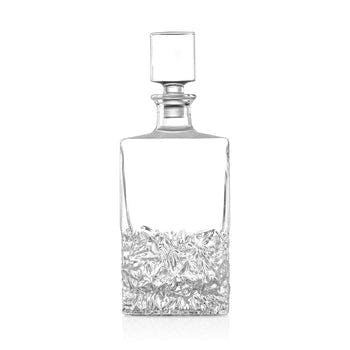
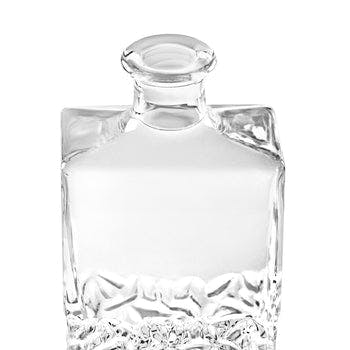
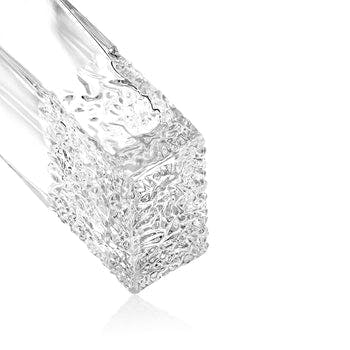
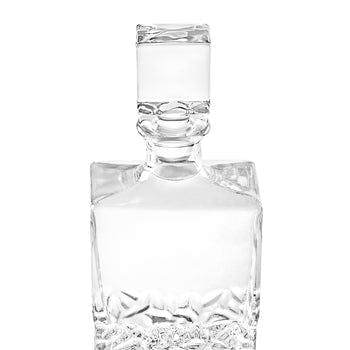
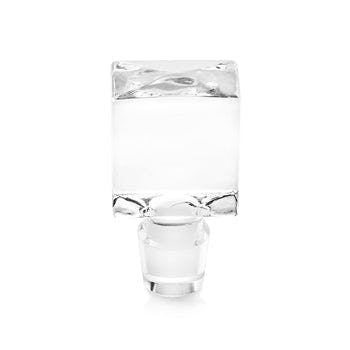
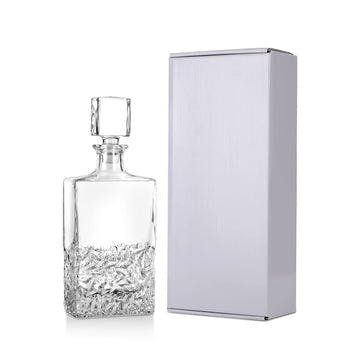


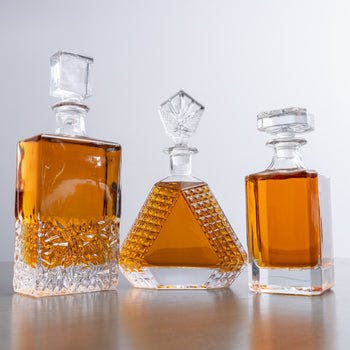
Whiskey Decanter - Rectangle - 750ML
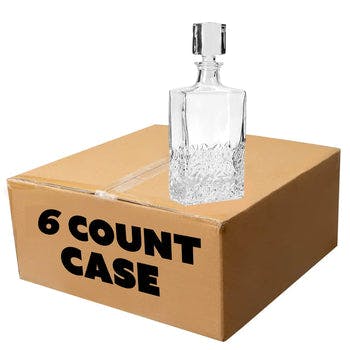
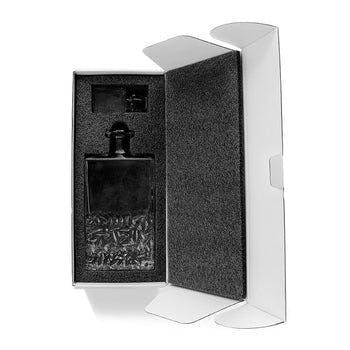
The Whiskey Decanter - Rectangle - 750ML combines elegance and functionality, featuring a sleek rectangular design with a chiseled, hammered base and a solid glass topper. With a 750ML (23.67oz) capacity, it’s the perfect centerpiece for any bar. Measuring 4.5" x 2.5" x 12" and weighing 3lbs 4oz, this decanter is both sturdy and sophisticated. Each decanter comes individually boxed in a white gift box with foam, making it ideal for gifting. Available for purchase as singles or in cases of six, it’s a must-have for whiskey enthusiasts.

12oz Kids Tumbler (Stainless Steel)
starting at

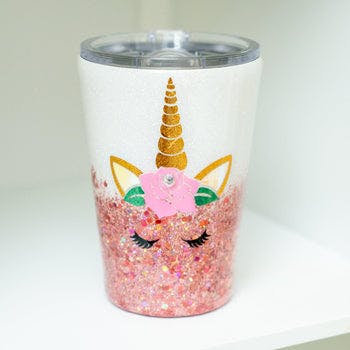
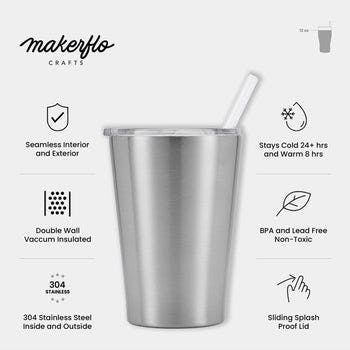
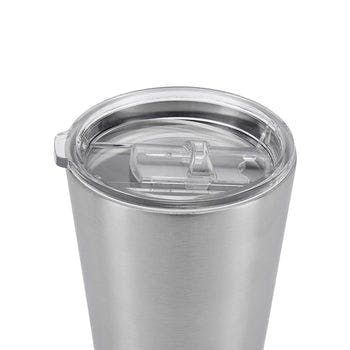
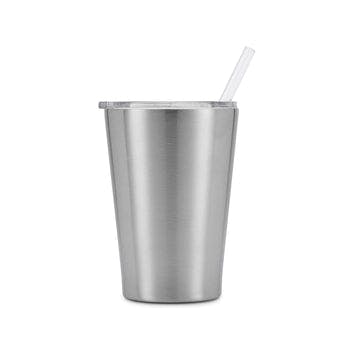
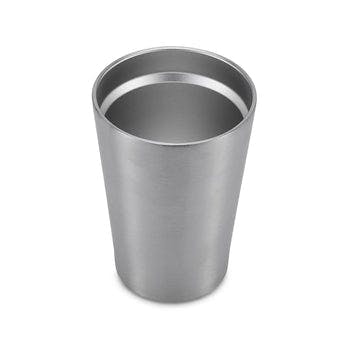
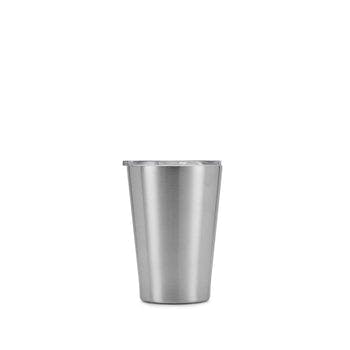
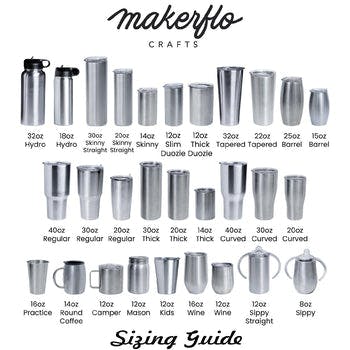
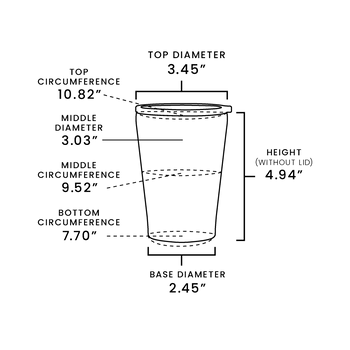
12oz Kids Tumbler (Stainless Steel)
Introducing our 12oz Stainless Steel Kids Tumbler – the perfect blend of durability and style for your little one's sips. Hydration, made fun!
Key Features:
- Stainless Steel Smooth Finish
- Capacity: 12oz
- 25 Units Per Case
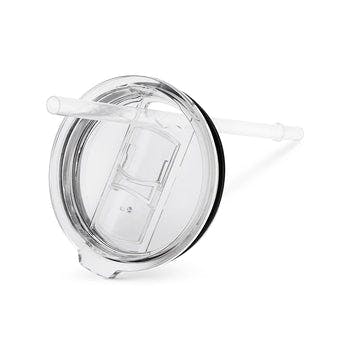
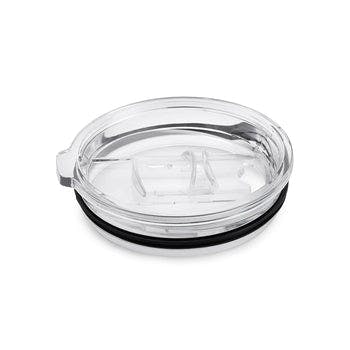
- Sliding Splash Proof Lid
- Straw & Care Card Included
- Individually packaged in peek-a-boo window gift box
- Stays Cold 24+ hours & Warm 8 hours
- No logo on tumbler for easy customization
- Can be used for epoxy, vinyl, or hydro-dipping
- These tumblers are double-wall, vacuum insulated, BPA free and come individually boxed.

40oz Tumbler (Powder Coated)
starting at
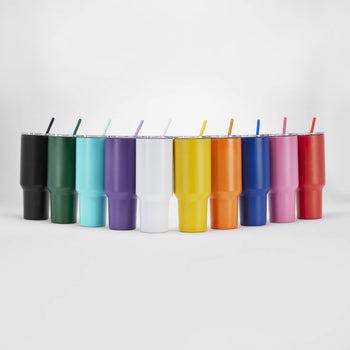
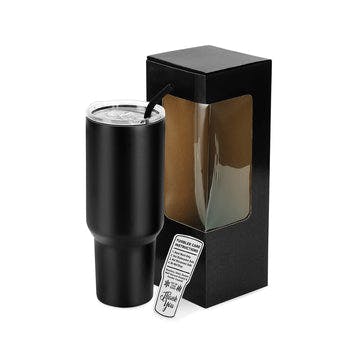
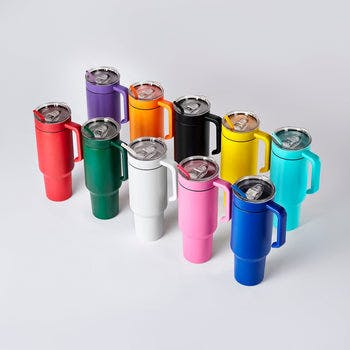



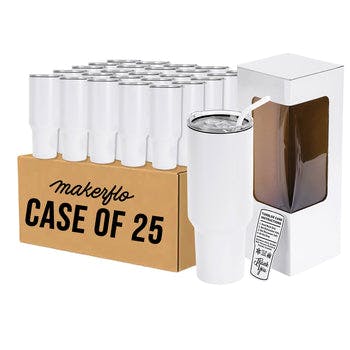
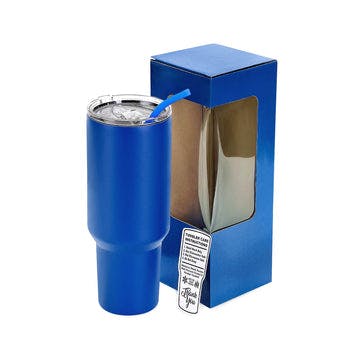
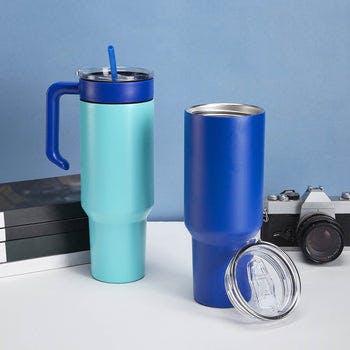
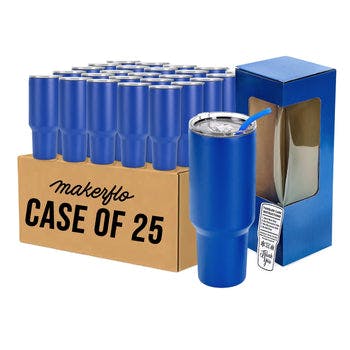
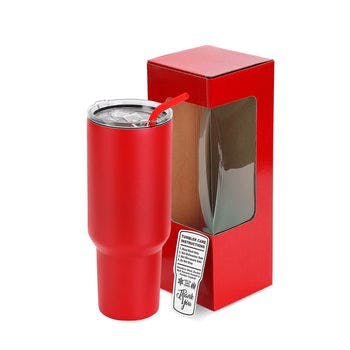
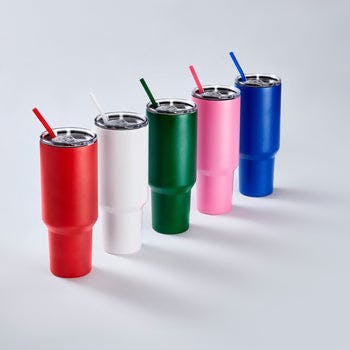
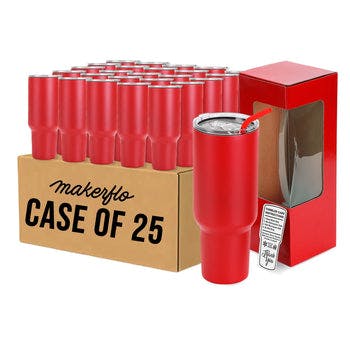
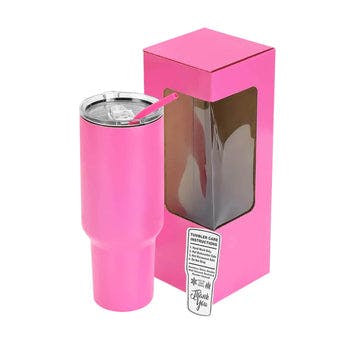
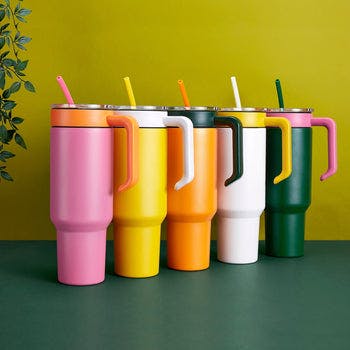
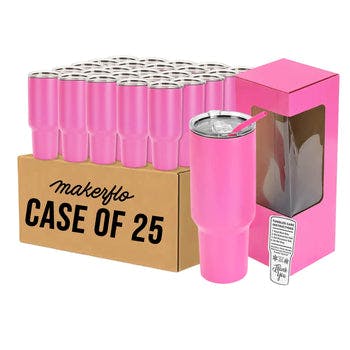
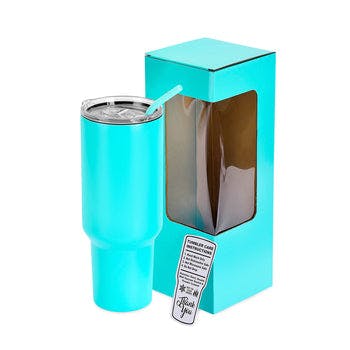
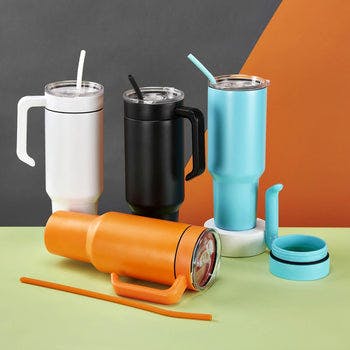


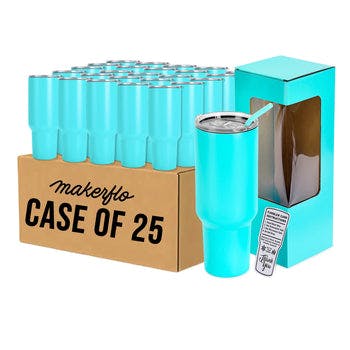
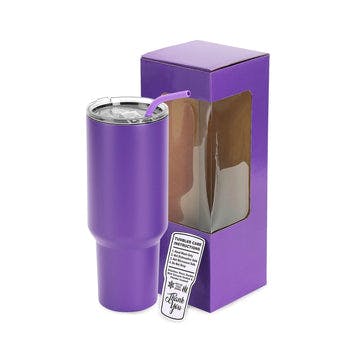
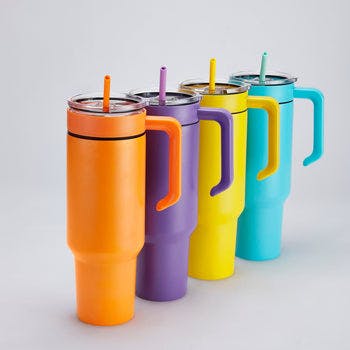
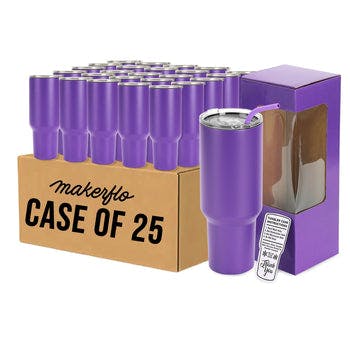
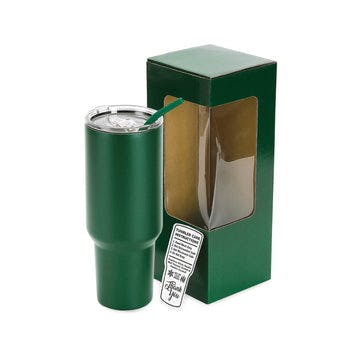
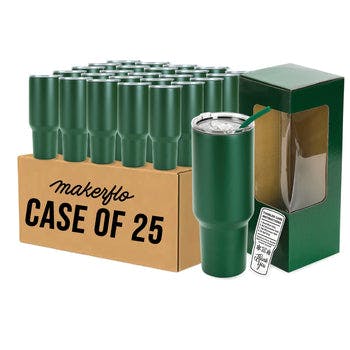
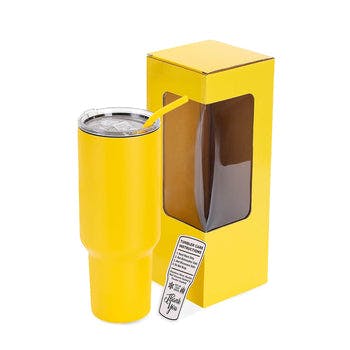
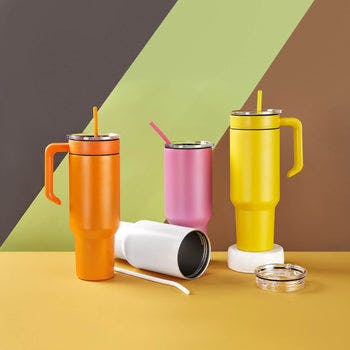
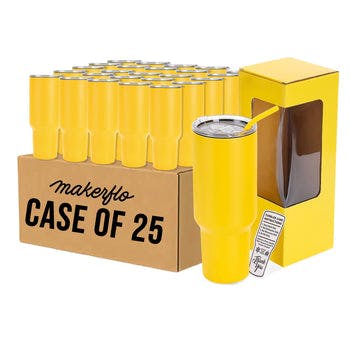
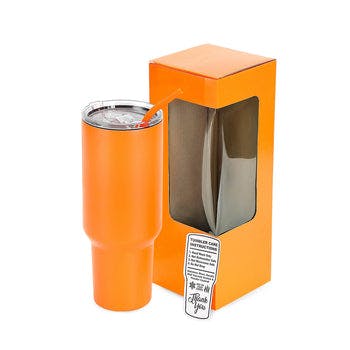

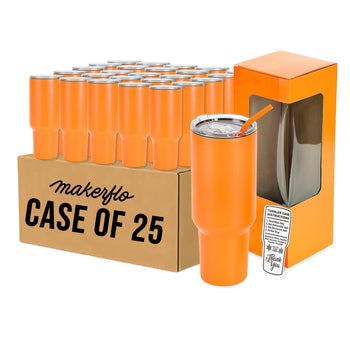
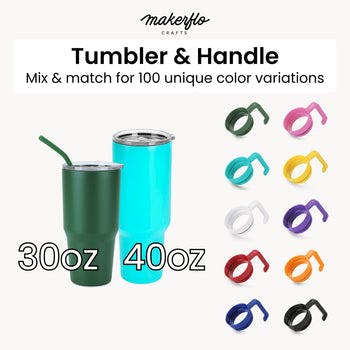
40oz Tumbler (Powder Coated)
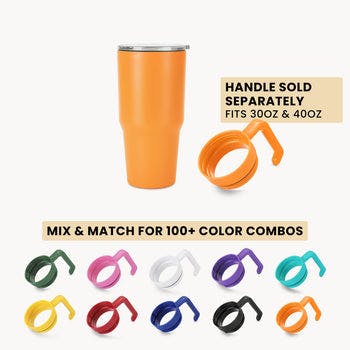
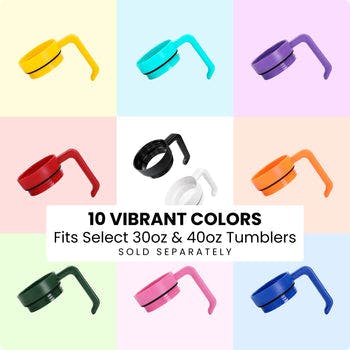
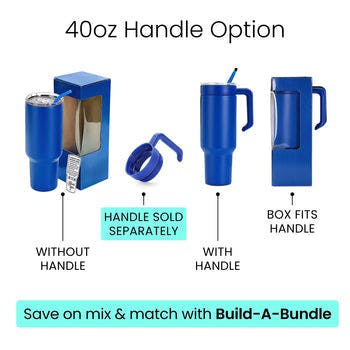
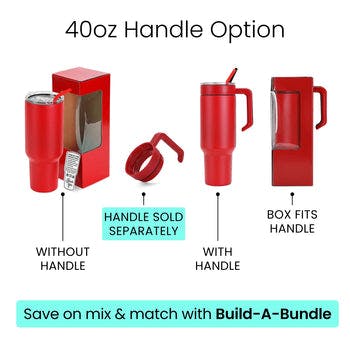
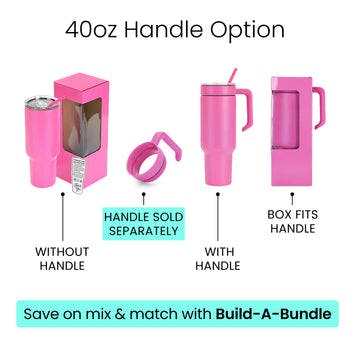
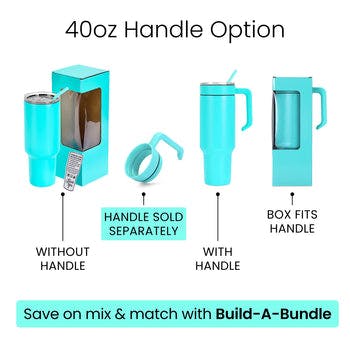
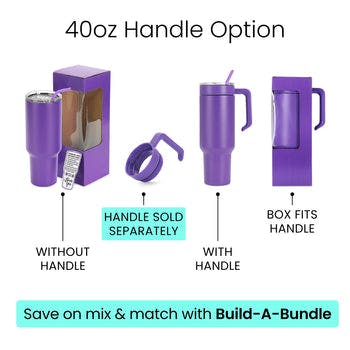
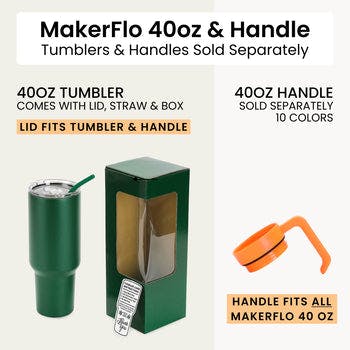
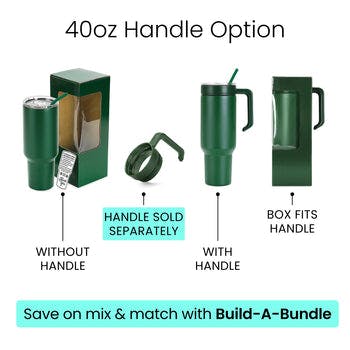
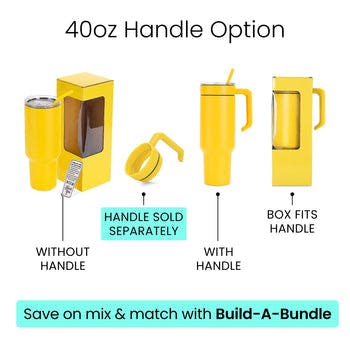
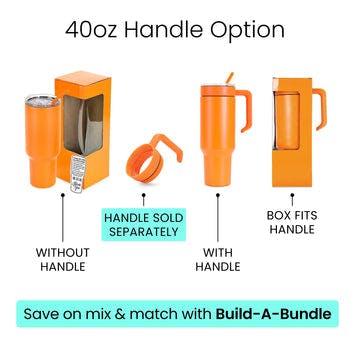
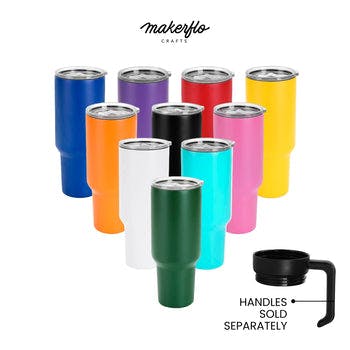
Handle sold separately • Easy to Craft • Lid fits Tumbler & Handle Accessory
Add a Tumbler Handle to mix and match your color tumbler!
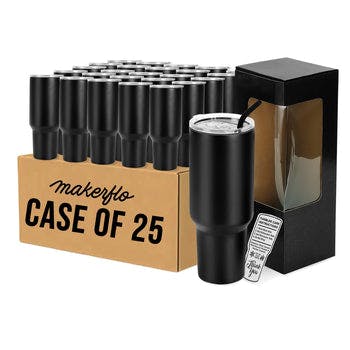
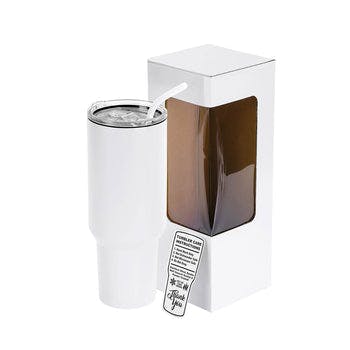
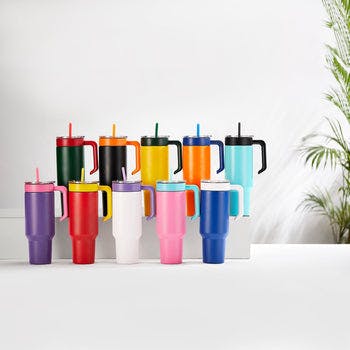
Elevate your laser engraving game with our 40 oz tumbler designed for hassle-free customization! Available in 10 vibrant colors, these powder-coated tumblers are handle-less for easy engraving, but for added convenience, a custom twist-on handle accessory—sold separately and available in matching colors—fits perfectly. Each tumbler comes with a straw, display gift box, and a new leak-proof lid that works seamlessly with or without the handle. Craft with ease, speed, and versatility, and enjoy enhanced comfort when taking your tumbler on the go!
Key Features:
-
Capacity: 40oz
-
Powder-coated for laser engraving
-
25 Units per case
-
Sliding splash & leak proof lid
-
Lid, Straw & care card included
-
Individually packaged in peek-a-boo window gift box
-
Individual box has added height and opening for optional handle add-on
-
Keeps drinks cold for 24+ hours and warm for 8 hours
-
No logo on tumbler for easy customization
-
These tumblers are double-wall, vacuum insulated, BPA & lead free
-
Handle accessory sold separately

20oz Skinny Tumbler (Polycoated)
starting at
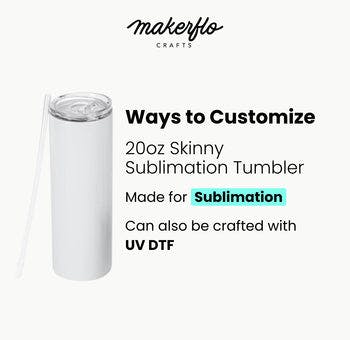


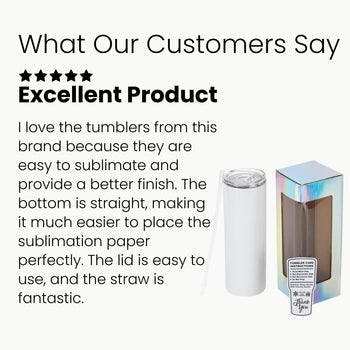

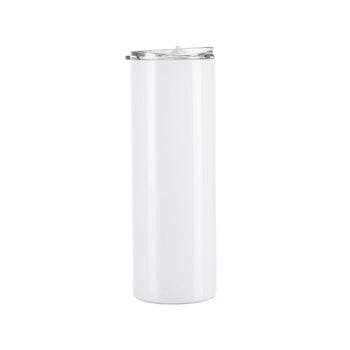
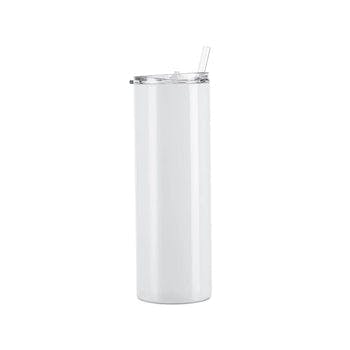
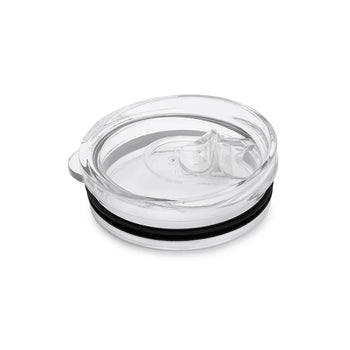
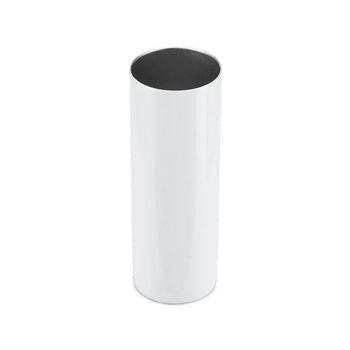
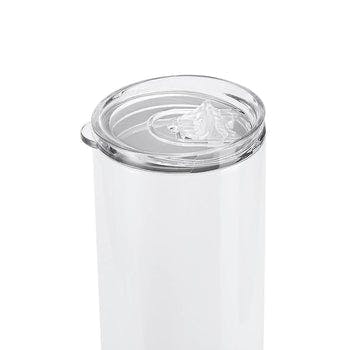
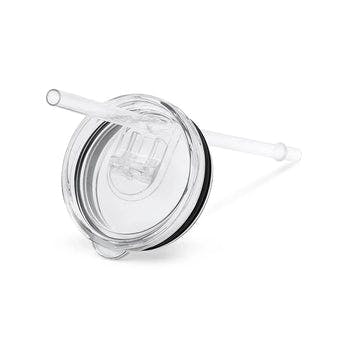
20oz Skinny Tumbler (Polycoated)
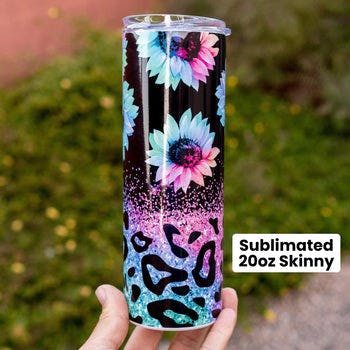
Elevate your sips with our 20oz Skinny Sublimation Tumbler. Customize it to express your unique style while enjoying your favorite drinks. Sleek, stylish, and yours to personalize!
Key Features:
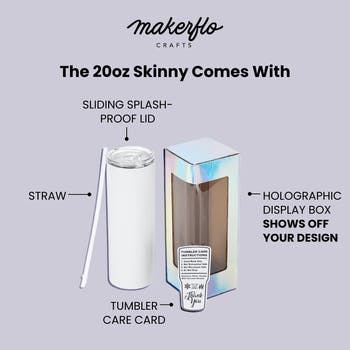
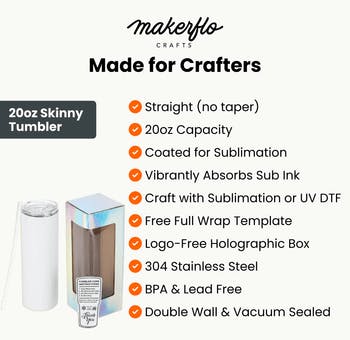
- Capacity: 20oz
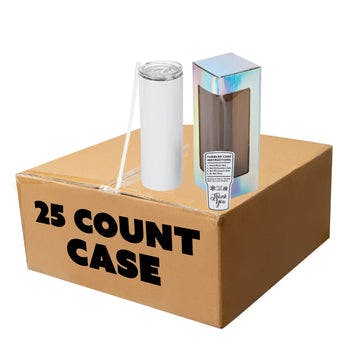
- 25 Units Per Case
- Coated to be used for UV DTF
- Sliding Splash Proof Lid
- Straw & Care Card Included
- Individually packaged in peek-a-boo window gift box
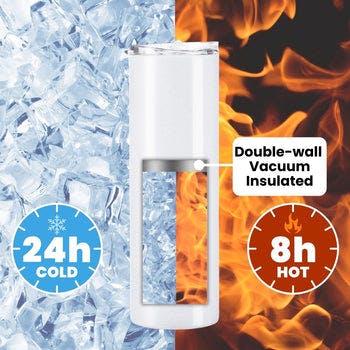
- Stays Cold 24+ hours & Warm 8 hours
- No logo on tumbler for easy customization
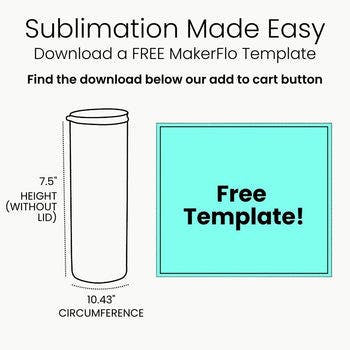
- Tumbler is straight with no taper
- These tumblers are double-wall, vacuum insulated, BPA free and come individually boxed.
Product Details
Crafted with precision using top-of-the-line UV DTF printing technology, our PermaStickers offer vibrant colors that won't fade over time, even when exposed to sunlight and harsh weather conditions.
The remarkable adhesive ensures that your UV DTF transfers stay put on laptops, water bottles, car windows, and more. Ideal for hard goods, our UV DTF gang sheets can give you more, for less!
Our UV DTF gang sheets offer ample space for multiple decals and stickers, and create custom designs, personalized messages, or intricate artwork that pops with vibrant colors. Scratch resistant and high quality. Design and order custom UV DTF transfers on gang sheets with Ninja Transfers today.
Distinction & Disclaimer
PermaStickers are extremely durable, color fast, chip & weather resistant stickers/decals, but they can still wear down or lose adhesion depending on the conditions & circumstances. For that reason, we can’t make any warranties or guarantees and should not be used for mission-critical applications or equipment.
Features
- Unrivaled Adhesive Performance: Experience the pinnacle of adhesive innovation with our UV DTF PermaStickers. These stickers are designed to stay put, gracing laptops, water bottles, car windows, and more with incredible adhesion.
- Exceptional Durability: Blending cutting-edge UV DTF technology with unbeatable adhesive properties, our PermaStickers are built to stand the test of time, offering unmatched durability for your designs.
- Vibrant Colors That Endure: Crafted using state-of-the-art UV DTF printing technology, our PermaStickers showcase vibrant colors that resist fading over time, even when exposed to sunlight and harsh weather conditions.
- Waterproof: Enjoy convenience without compromise. Our PermaStickers are not only vibrant and durable but also weather-resistant and waterproof, ensuring your designs remain intact and vivid.
- Care Instructions: We recommend hand washing for greatest longevity.
Satisfaction Guarantee
We stand behind the quality of every transfer and sticker we print. If you’re not completely satisfied, we’ll reprint your order with a new or revised file at no cost to you.
Application Instructions
Click here to watch our UV DTF PermaStickers™ Application Instructions Tutorial Video.
To ensure your PermaStickers™ adhere correctly, follow these four simple steps.
1. Prep Your Surface and Pre-Squeegee Your UV-DTF Permasticker
Prepping the Area - When necessary, clean the surface of your item before applying the PermaSticker using either soap & water or a mixture of rubbing alcohol and water (50/50 mix). The cleaner the surface, the longer it will endure natural elements, washing, and wear and tear. Although it will adhere without this, it is recommended.
Pre-Squeegee - After cutting your sticker/decal out, place the design face down with the white side facing up. Using the padded end of the included squeegee, run over the whole design with hard pressure, back and forth 2-4 times. Additional pressure and repetitions should be applied on thin and separated design elements, such as small text.
2. Preparing your UV DTF PermaSticker for Transfer
Gently peel the two sheets apart, watching to ensure the whole design lifts off onto the top carrier sheet. We have a saying in the Dojo - Don’t peel with your hands, peel with your EYES. Designs which contain thin lines and small separated elements, such as small text, the slower you should peel. If parts don't lift, re-squeegee from behind, and attempt to peel again from a different angle. You’ll get a feel for it with experience.
3. Placing Your UV-DTF PermaSticker Onto Your Item
First, identify the placement area on your item.
For smaller designs (4 inches & under), carefully place the design onto the placement area with two hands controlling the placement.
For larger designs (6 inches & larger), you may find it easier to place the sticker starting from one side and ending at the other. This will help control your placement, reduce bubbles underneath the design, and avoid wrinkling of the carrier sheet which could cause design elements being offset and/or design overlapping.Tip: Leave a corner of the carrier sheet unpressed to the product for easy peeling.
4. Completing the Transfer Process
After placing the design, firmly squeegee it 2-4 times. Peel slowly, watching to ensure all elements stick. Again, the lesson from the Dojo applies here - use your EYES and not just your hands. If any part of the design is not adhering, lay the carrier sheet back down, re-squeegee and try peeling from a different angle.
Shipping & Returns
Orders over $75 of transfers and supplies will automatically qualify for Free Shipping. Express shipping options as fast as 1 Business Day available at checkout. For Canadian customers, orders of $99+ will qualify for Free Shipping.
Read our Shipping Policy for more information.
Refunds & Reprints
Contact us within 45 days of receiving your order to submit a request for a refund or reprint. We will reprint any order where there is a print quality or adherence issue. However, we will not issue a reprint if the uploaded file is low quality. If you'd like a refund or reprint for another reason, it must be approved by management first.
Art Upload Recommendations
All file types accepted, vector files are always preferred, raster art should be at least 300 DPI.
Tip: If you're using Canva or Procreate, we recommend exporting your documents as PDFs
Minimum Size: While DTF handles fine details well, elements smaller than 0.02 inches (0.5mm) may not transfer properly
Downloadable Templates
- 22" x 6 Inches - AI / PDF / Build With Ninja Gang Sheet Builder
- 22" x 1 Foot - AI / PDF / Build With Ninja Gang Sheet Builder
- 22" x 2 Feet - AI / PDF / Build With Ninja Gang Sheet Builder
- 22" x 5 Feet - AI / PDF / Build With Ninja Gang Sheet Builder
- 22" x 10 Feet - AI / PDF / Build With NInja Gang Sheet Builder
- 22" x 20 Feet - AI / PDF / Build With Ninja Gang Sheet Builder
Turn Any Surface into a Premium Product with UV DTF 3D PermaStickers™
UV DTF 3D PermaStickers™ deliver vivid UV printing, raised texture, and extreme durability that holds strong indoors and outdoors.

UV DTF PermaStickers are built to stick where others fail — delivering flawless adhesion to hard surfaces like laptops, tumblers, glass, plastic, metal, and more.
Works on Any Hard Surface

Designed to handle moisture and mess, UV DTF PermaStickers are fully waterproof. They won’t peel, bubble, or fade when exposed to water — perfect for bottles, coolers, boats, and outdoor gear.
100% Waterproof

Built with a smooth, epoxy-like finish, these PermaStickers deliver a bold, raised texture you can see and feel.
Premium 3D Look

UV DTF PermaStickers deliver stunning, high-definition color with no background or border, so your artwork looks clean and professional on any surface.
Full-Color Art Without Borders

UV DTF PermaStickers are built to stick where others fail — delivering flawless adhesion to hard surfaces like laptops, tumblers, glass, plastic, metal, and more.
Works on Any Hard Surface

Designed to handle moisture and mess, UV DTF PermaStickers are fully waterproof. They won’t peel, bubble, or fade when exposed to water — perfect for bottles, coolers, boats, and outdoor gear.
100% Waterproof

Built with a smooth, epoxy-like finish, these PermaStickers deliver a bold, raised texture you can see and feel.
Premium 3D Look

UV DTF PermaStickers deliver stunning, high-definition color with no background or border, so your artwork looks clean and professional on any surface.
Full-Color Art Without Borders


Easily Applies in Seconds
Powered by our proprietary UV Ninja Peel, our 3D PermaStickers bond instantly to any hard surface -- no heat press required.
Ninja Transfers Customer Feedback
-
DTF Transfers
-
UV DTF 3D PermaStickers
-
Specialty DTF
-
Stickers & Magnets
-
Free Tools & Designs
-
Support
- FAQs
Chat
Available 24 hours a Day. 7 days a Week. 365 Days a Year.
Phone
Mon-Fri: 8:00am - 12:00am EST
Sat-Sun: 9:00am - 5:00pm EST
2727 Commerce Way
Suite 100
Philadelphia, PA 19154
Ninja Fast Delivery from Both Coasts

Customer Login
Reset your password
We will send you an email to reset your password.
Remove File
Are you sure you would like to remove this file?
Remove File
Are you sure you would like to remove this file?
Use our AI image generator to create stunning logos and designs. Short or long prompts, just try it.
Ai prompt guideBackground
Adjustable Filters
Color Effects
Layers
Add
Choose Add Text or Upload Image from the top menu.
Edit
Click an existing object to open its property editor.
Organize
Manage element order in Layers and adjust your artboard under Canvas.
Example Prompt


Example Output


Remove File
Changes you made may not be saved.
Remove Pre Cut Option
Are you sure you want to remove the Pre-Cut option from all of your DTF Transfers by Size items in your cart?
Decorate Your Shirts With DTF Transfers
- Print Anything on Anything
- No Minimums or Setup Fees
- Next Day Delivery


