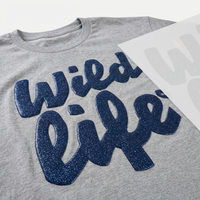
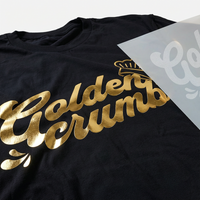
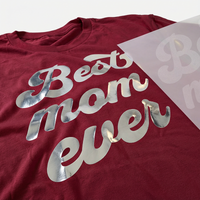
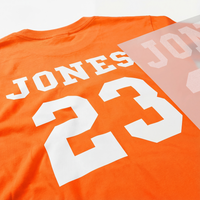
We recommend watching our step-by-step spangle pressing video tutorial here.
1. Prepare the Spangle Transfer
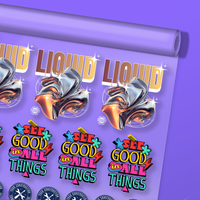
Carefully peel off the transfer's backing, ensuring that only the spangle design remains on the clear adhesive sheet. Handle the transfer gently to prevent shifting or misalignment. Before applying, check that the design is intact and free from dust or debris to ensure a smooth and even press.
2. Position the Transfer
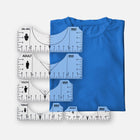
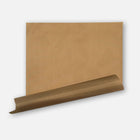
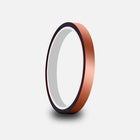
Place the transfer adhesive side down onto the garment in your desired location, ensuring it is properly aligned. Smooth out any bubbles or wrinkles to create an even application and prevent lifting during pressing. If necessary, use heat-resistant tape to keep the transfer securely in place. Use our Alignment Ruler Set for more precise placement.
3. Press
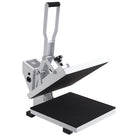
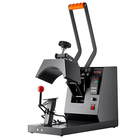
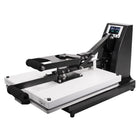
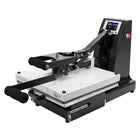
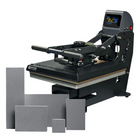
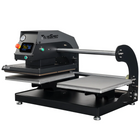
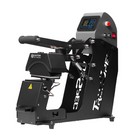
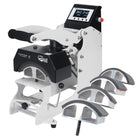
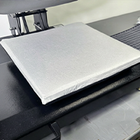
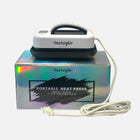
Set the heat press to 300°F - 315°F, and apply medium to firm pressure for 12-15 seconds. If you're using our Silicone Upper Platen Cover, set your heat press to 330°F.
4. Peel the Transfer
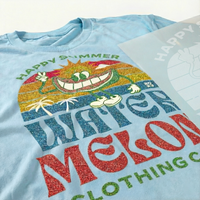
Allow the garment to sit for 15-30 seconds, giving the adhesive time to set. Then, carefully peel the carrier sheet while it is still warm, using a smooth and steady motion to prevent lifting. After peeling, inspect the design to ensure all spangles have adhered properly for a flawless finish.