


UV DTF Gang Sheet Builder
Add a DTF Sample Pack to Cart - $0.01 - Add to Cart


Product Details
Features
Satisfaction Guarantee
Application Instructions
Shipping & Returns
Art Upload Recommendations
Turn Any Surface into a Premium Product with UV DTF 3D PermaStickers™
UV DTF 3D PermaStickers™ deliver vivid UV printing, raised texture, and extreme durability that holds strong indoors and outdoors.

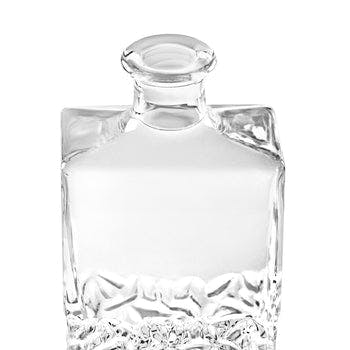
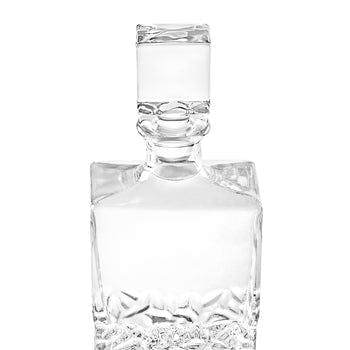
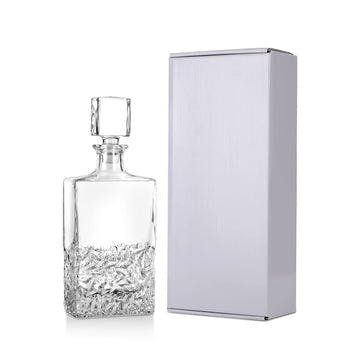
UV DTF PermaStickers are built to stick where others fail — delivering flawless adhesion to hard surfaces like laptops, tumblers, glass, plastic, metal, and more.
Works on Any Hard Surface

Designed to handle moisture and mess, UV DTF PermaStickers are fully waterproof. They won’t peel, bubble, or fade when exposed to water — perfect for bottles, coolers, boats, and outdoor gear.
100% Waterproof

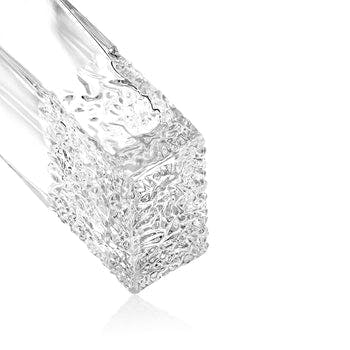
Built with a smooth, epoxy-like finish, these PermaStickers deliver a bold, raised texture you can see and feel.
Premium 3D Look

UV DTF PermaStickers deliver stunning, high-definition color with no background or border, so your artwork looks clean and professional on any surface.
Full-Color Art Without Borders

UV DTF PermaStickers are built to stick where others fail — delivering flawless adhesion to hard surfaces like laptops, tumblers, glass, plastic, metal, and more.
Works on Any Hard Surface

Designed to handle moisture and mess, UV DTF PermaStickers are fully waterproof. They won’t peel, bubble, or fade when exposed to water — perfect for bottles, coolers, boats, and outdoor gear.
100% Waterproof

Built with a smooth, epoxy-like finish, these PermaStickers deliver a bold, raised texture you can see and feel.
Premium 3D Look

UV DTF PermaStickers deliver stunning, high-definition color with no background or border, so your artwork looks clean and professional on any surface.
Full-Color Art Without Borders


Easily Applies in Seconds
Powered by our proprietary UV Ninja Peel, our 3D PermaStickers bond instantly to any hard surface -- no heat press required.
Overall rating: 4.9366055 / 5 from 3912 reviews.
AI Generated Review Summary
The UV DTF Gang Sheet Builder is praised for its excellent prints, vibrant colors, and high-quality transfers. Customers appreciate the great work, service, and fast shipping. The reasonable pricing and fantastic look make it a popular choice for repeat orders.
Summary topics
- Work Quality: 4%
- Print Quality: 3%
- Product Quality: 30%
- Customer Service: 15%
- Color Quality: 8%
Review topics: [size, fit, colors, support, material, design, quality, issues, look, feel, detail, lines, results, durability, speed, addition, outcome, finish, texture, shirts, value, edges, appearance, service, plastic, thickness, stickers, shipping, order, transfers].
Review highlights
- "Great quality and fast shipping!" —
- "I loved the quality, fast shipping and great customer service." —
- "Fast shipping and great quality I will definitely be using your services again" —
Reviews
Amazing Quality! Fast Turn around
"What a wonderful product , Could not beat the price or the quality of this transfer ! I had a small themed event. Was looking for a personalized party favor , with dollar store mugs and ninja transfers ? The even was a huge success. Learning curve to apply the transfers was almost non existent!"
THE BEST!!
"I have used many different places for my permastickers but ninjatransfers has the best overall quality and price. I use them for my fingerboard graphics and they always turn out incredible! I just ordered my 5th set of permastickers from ninja and will definitely be getting more."
Decals for my new car
"They look fantastic! I've never put a decal on my car before, and they turned out perfect! The instructions led me through the process, and I was able to apply the decals exactly how I wanted! Now my new EV looks a little more like a cheetah, and less like a Stormtrooper haha"
Look good
"The decals look great. Only thing is I requested if the white background could be made clear instead of white and they came with a white background. No worries and maybe it ain’t possible to do that. The decals feel like good quality and look great"
Ninja Decals for Restoring/Updating Treadle Sewing Machine
"The transfers were created from pictures I took of decals on an old treadle sewing machine. The original decals had badly deteriorated over time and lack of care. I manually restored/updated the images and then uploaded them to Ninja. The transfers which Ninja created from the images were exquisite. The instructions on how to apply the transfers were very detailed and very clear. Overall, this was a great experience."
Satisfied Customer
"I love my gang sheet! The design is vibrant and clear. Beyond my expectations! I'll will continue to be a returning customer!"
Gildan T-shirts and POLO
"Gildan T‑shirts and polos offer reliable quality at an affordable price. The fabric is durable, holds color well, and feels comfortable for everyday wear. Their shirts press beautifully for DTF and vinyl, and the polos embroider cleanly with consistent stitch results. Sizing is predictable, the material washes well, and they’re a great option for bulk orders or business uniforms. Overall, Gildan provides excellent value and dependable performance for both printing and embroidery projects."
Great first time experience
"This was my first order, and I’ll definitely be ordering again! I accidentally purchased the wrong item, but their customer service went above and beyond to help. They credited my account so I could order the correct product without any hassle. Amazing customer service!"
Exactly what I needed
"The UV DTF Perma Stickers turned out amazing & easy to apply. I can’t wait to attend my event and hand out the stickers of our mascot for participants water bottles."
Very pleased!
"I found Ninja Transfers through a quick Google search and was wary, but they exceeded my highest expectations. The transfers were high quality, the colors were vibrant, and they included lots of extra goodies that I didn't expect which was very generous. The prices are also very reasonable. I will definitely be using them again in the future!"
Q&A
- Can I get a gang sheet of metallic gold DTF stickers? If so, how to I specify that?
- Unfortunately, we don't offer metallic gold stickers, just DTF transfers. You're able to request a specific shade of gold if you submit your order through UV DTF Transfers by Size!
- Will the DTF PermaStickers work on a car for branding my business? Not the window of a car, but the actual body of a car.
- Yes, these should have no issues adhering to your car!
- Can I put these on candle jars?
- Yes, you can!
- How do I build a gang sheet Thank you
- Here's a helpful video to walk you through the process of building a gang sheet > https://ninjatransfers.com/pages/how-to-use-ninja-gang-sheet-builder?_pos=1&_psq=gang+sheet&_ss=e&_auto=format,compress&v=1.0
- I am needing information and a solution for a more cost effective way to get what I need. I am needing disposable logo acrylic flute glasses I would like to show you the logo and the glass. I would like an easy stick on. Dtf was recommended but don’t want to heat press need it quick and simple!
- Our UV DTF permastickers do not require heat and could be the perfect solution for your acrylic flute glasses!


Official Partner of the Philadelphia 76ers


Decorate Your Shirts With DTF Transfers
- Print Anything on Anything
- No Minimums or Setup Fees
- Next Day Delivery
