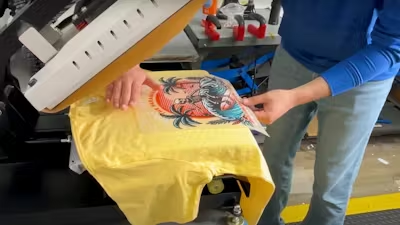
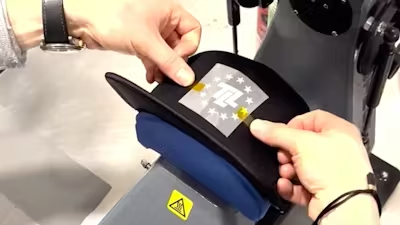
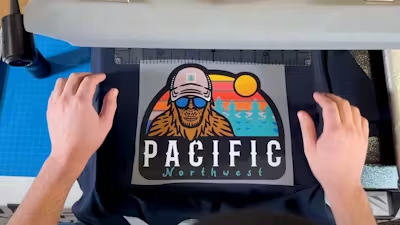
Master your precision with DTF printing projects in this DTF Alignment Ruler Set tutorial video. Learn step-by-step how to align and position your designs accurately for flawless printing results.
Step One:
Place the alignment ruler below the circular collar of the garment. This will give us the perfect distance to help us get the transfer directly to the center.
On the tool, there is a v neck option and a marker for left and right pocket so you can carefully align your transfer in the correct position.
Step Two:
Using this guide, place your transfer into position on the garment, place a protective guard sheet over the transfer and any garment that the heat press could come into contact with and press for 15 seconds.
Step Three:
Wait a few seconds (or more) and peel! If parts of the design are not sticking, lay it back down and press again with added pressure and heat (+15°F). If unsuccessful, increase heat by 15°F increments until it works.
Step Four:
We always follow up with our second press with the parchment paper to give the transfer a matte finish and a great feel.
Pro Tip: If pressing your transfer onto the back of a garment, slide the guide 1 inch down from the collar to ensure the transfer is properly aligned in the center. For a back neckline, place the transfer 2 inches below the collar.
This guide applies for both adult shirts and youth shirts.
However, our alignment tool comes with a separate adult and youth guide to ensure proper alignment on smaller shirt sizes. If you are pressing a full-back transfer onto a youth shirt, make sure to use the adult guide for proper placement. Apply DTF transfers quickly and easily today.


