This guide presents ten essential tips for optimizing your artwork for DTF printing, ensuring your custom apparel stands out with professional-quality results.
From color management and file preparation to leveraging DTF's unique capabilities, these insights will help both novice and experienced designers produce striking, durable prints that meet the high standards of today’s competitive custom apparel market. Here are our Top 10 DTF Design Tips to help you maximize the impact of your custom prints.
Table of Contents
- 1. Choosing File Types
- 2. Understanding RGB vs CMYK
- 3. Design Software Needed
- 4. Sizing Your Design
- 5. Removing the Background
- 6. Using Halftones
- 7. Maximizing Vibrancy
- 8. Details and Fine Lines
- 9. Textures and Distress Effects
- 10. Universal Design Principles
- Additional Note: Hiring a Professional Designer
- Elevating Your DTF Designs for Professional Results
1. Choosing File Types
DTF printing requires high-quality files for optimal results. There are two main types: vector and raster.
Vector files (AI, EPS, PDF, SVG) use mathematical formulas to create shapes and lines, allowing infinite scalability without losing quality. They're ideal for logos, text, and illustrations with sharp edges.
Raster files (PSD, PNG, JPG) consist of pixels—tiny colored squares that form an image. Their quality depends on resolution, measured in DPI (dots per inch). For DTF, use 300 DPI at the intended print size to ensure clarity.
Always choose vector files when available. They provide crisp, hard edges essential for professional prints and can be easily converted to raster if needed. The reverse isn’t true.
If you must use raster files, ensure they’re high resolution. Low-quality images result in blurry, pixelated prints, especially when enlarged.

2. Understanding RGB vs CMYK
When designing for DTF, color management is crucial. Screens display RGB (Red, Green, Blue), while printers use CMYK (Cyan, Magenta, Yellow, Black).
This difference can cause color shifts. Bright neons and electric blues may appear muted in print.
Design in RGB for flexibility, but preview in CMYK regularly. Some colors simply fall outside CMYK’s printable range.
Understanding these limitations helps manage expectations and deliver consistent results.

3. Design Software Needed
Choosing the right design software is essential for high-quality DTF prints.
Beginners: Canva and Adobe Express offer intuitive tools and templates.
Intermediate users: Affinity Designer and Photopea balance power and affordability.
Advanced users: Adobe Illustrator and Photoshop remain industry standards for professional results.
Mobile designers: Procreate (iPad), Photoshop Express, and PicsArt enable on-the-go creativity.
Vector software excels at scalability, while raster programs shine for photo manipulation. Choose what fits your workflow.

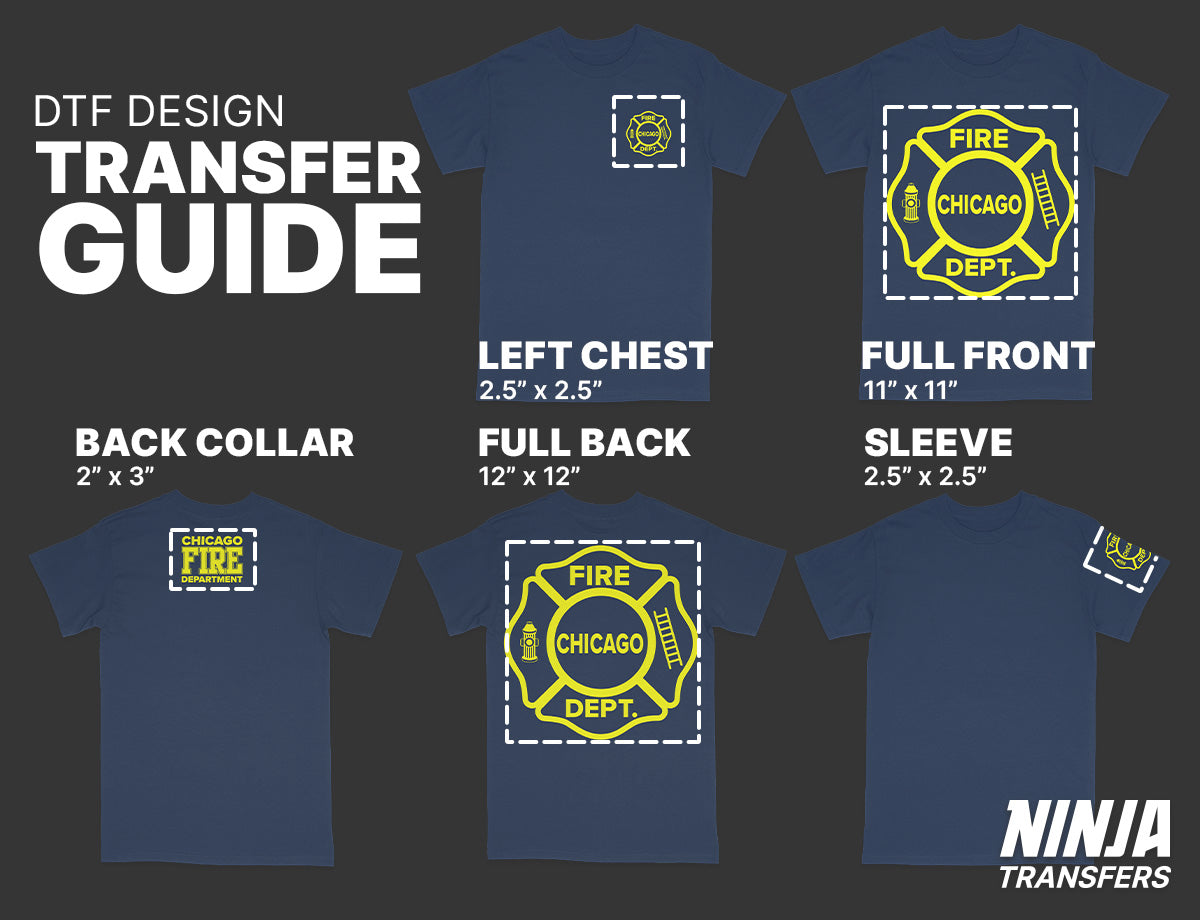
4. Sizing Your Design
Proper sizing ensures professional results and comfortable wear.
Moderation is key: Oversized designs can feel heavy and unbalanced.
Garment scaling: Adjust artwork for youth through 3XL sizes.
Breathability & flexibility: Smaller designs enhance comfort.
Raster caution: Enlarging raster art may soften edges.
A well-sized design elevates wearability and perceived quality.
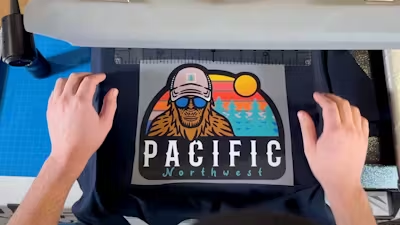
5. Removing the Background
Knocking out the background improves comfort, flexibility, and visual appeal.
Lighter prints: Less ink and adhesive.
Better breathability: Fabric can breathe naturally.
No “box” effect: Designs blend into the garment.
Use transparency, negative space, and soft fades for the best results.

6. Using Halftones
Halftones use dots to simulate gradients and texture.
Softer feel: Reduced ink coverage.
Natural fades: Seamless garment blending.
Professional finish: Elevated retail appearance.
Mastering halftones significantly improves DTF comfort and aesthetics.

7. Maximizing Vibrancy
Vibrant color boosts impact and perceived value.
Prep files correctly: Adjust contrast, saturation, and levels.
Resolution: 300 DPI at print size.
Smart color choices: Use contrast and outlines.

8. Details and Fine Lines
DTF excels at detail, but limits still apply.
Minimum size: Avoid elements under 0.02 inches (0.5mm).
Balance: Pair intricate details with open areas.
Understanding limits ensures reliable transfers.

9. Textures and Distress Effects
Textures add character and softness.
Vintage appeal: Worn-in aesthetics sell.
Softer feel: Reduced solid ink areas.
Strategic use: Enhance without overpowering.

10. Universal Design Principles
Strong fundamentals elevate every print.
Composition, typography, color theory, hierarchy, and negative space all contribute to professional results.
Mastering these principles helps grow your apparel business long-term.

Additional Note: Hiring a Professional Designer
Professional designers save time, ensure print-ready files, and often deliver better-selling products.
Platforms like Fiverr, Upwork, 99designs, and Behance offer designers at various price points.

Elevating Your DTF Designs for Professional Results
Mastering these top 10 DTF design tips will significantly enhance the quality and appeal of your custom apparel. From understanding color modes and file types to leveraging DTF's unique capabilities for detailed patterns and textures, these principles will help you create stunning, professional-quality prints.
Remember, great DTF printing starts with great design. Whether refining your skills or partnering with a professional designer, the key is continually learning and experimenting.
At Ninja Transfers, we're committed to helping you achieve the best possible results with your DTF designs. Our state-of-the-art printing technology and expert team are ready to bring your creations to life with vibrant, durable, and comfortable prints. Whether you're a seasoned designer or just starting out, we're here to support your custom apparel journey every step of the way.
Ready to see your designs transform into high-quality DTF prints on high-quality blank apparel? Explore our services at Ninja Transfers and take your custom apparel to the next level.