


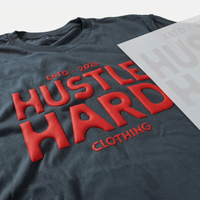
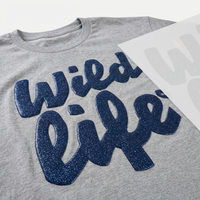

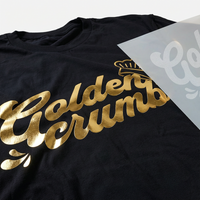
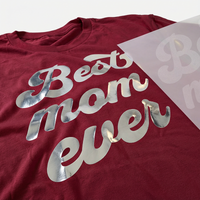
















3D Puff Pressing Video Tutorial
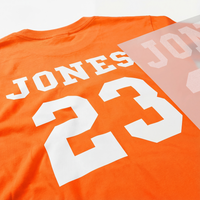
Watch our step-by-step 3D Puff Pressing Tutorial to ensure you get a perfect application every time.

1:23
Step by Step Instructions
1

Position Your Design Face Down
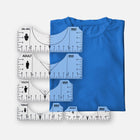
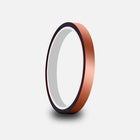
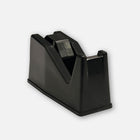
Take your time to line up your transfer in the desired location on your item. Normally, there is no need to use heat-resistant tape on flat heat presses to keep your design in place, however it is highly recommended when pressing transfers onto hats or when using an iron to keep the transfer in place. You’ll get a feel for when this is needed. For more precise positioning, use our Perfect Placement Guide.
2

Press
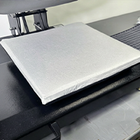
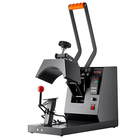
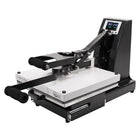
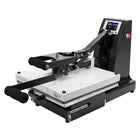
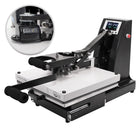
Press your transfer with heavy pressure at 350°F / 175°C for 7 seconds.
3

Peel Hot
3D Puff Transfers are a Hot Peel that needs to be peeled immediately.
Need Additional Help?
Our support team is ready to assist with any questions about pressing your 3D Puff Transfers.